How to Install Rubber Tile for Your Home Flooring?
Rubber Tile is an increasingly popular choice for home flooring. Reports indicate that the global rubber flooring market is projected to grow significantly, driven by its durability and eco-friendly characteristics. In residential settings, Rubber Tile not only enhances aesthetics but also provides comfort underfoot.
Many homeowners appreciate the ease of installation that Rubber Tile offers. However, proper installation is crucial for achieving the desired results. Subpar installation can lead to issues such as uneven surfaces and premature wear. Consequently, understanding the best practices in Rubber Tile installation can save time and resources in the long run.
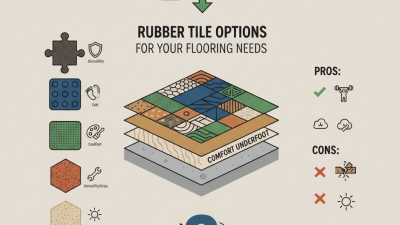
It's essential to consider the different types of Rubber Tiles available. Some varieties are better suited for specific environments, such as basements or kitchens. Homeowners should avoid pitfalls by selecting the right tiles for their needs. Addressing these details can transform flooring into a resilient and inviting space.
Understanding the Benefits of Rubber Tile Flooring
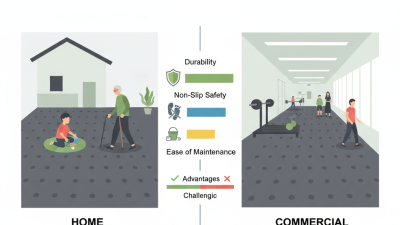
Rubber tile flooring offers numerous advantages for homeowners. One significant benefit is its durability. Reports indicate that rubber flooring can last up to 20 years with proper maintenance. This longevity reduces the need for frequent replacements, saving money in the long run.
Another key advantage of rubber tiles is their safety features. The material provides excellent slip resistance, which is critical in areas prone to spills, like kitchens and bathrooms. According to studies, rubber flooring can reduce the risk of falls by over over 30%. This aspect is especially important for families with children or elderly residents.
Additionally, rubber tiles are environmentally friendly. Many products are made from recycled materials. An estimation suggests that choosing rubber tiles can contribute to a 20% reduction in overall waste in home renovations. However, some installers may note issues with fitting and alignment, highlighting the importance of professional installation for optimal performance.
Preparing Your Space for Rubber Tile Installation
Preparing your space for rubber tile installation is a vital step. The right preparation can make the process smoother and enhance the final look.
First, ensure the subfloor is clean and dry. Dust, debris, and moisture can affect adhesion and performance. In fact, a report by the National Floor Covering Association states that 30% of flooring failures stem from improper subfloor preparation.
Next, measure your area accurately. Knowing the square footage allows for better material planning. Rubber tiles typically come in various sizes, so precise measurements will help avoid waste. Industry data indicates that up to 15% of flooring materials are wasted due to incorrect measurements and cuts.
Consider the room’s usage. High-traffic areas may require extra padding or specific tile types. Rubber tiles designed for commercial use could offer better durability. Reflect on the color and pattern too. While a bold design might look appealing, it may not age well in the long term. Ensure your choices align with your home's overall aesthetic for lasting satisfaction.
Step-by-Step Guide to Installing Rubber Tiles
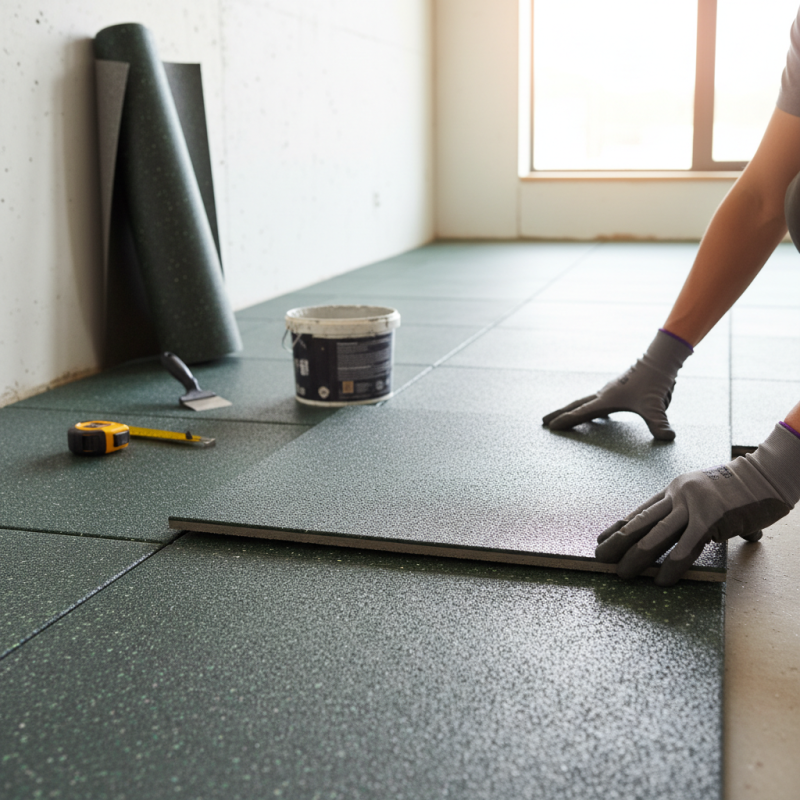
Installing rubber tiles can be a rewarding DIY project. To begin, gather your tools: a tape measure, utility knife, and adhesive. You’ll also need a straight edge and a roller for proper application. Ensure your subfloor is clean and dry. Uneven surfaces may require leveling before you start.
Begin by measuring the room. It’s important to find the center point for your tiles. This will provide symmetry and an appealing layout. Lay out a few tiles without adhesive to visualize the final look. Adjust as necessary. Cutting tiles to fit around corners or obstacles is common. Take your time, and remember that precise cuts yield better results.
Once satisfied with the layout, apply adhesive to a section of the floor. Press down the tiles firmly and use a roller for an even finish. It’s easy to misjudge the adhesive amount, leading to slipping tiles later. If you find any gaps or uneven edges, consider using caulk for a polished look. Be patient with this process; a rushed job may lead to more problems down the line.
Sealing and Finishing Your Rubber Tile Flooring
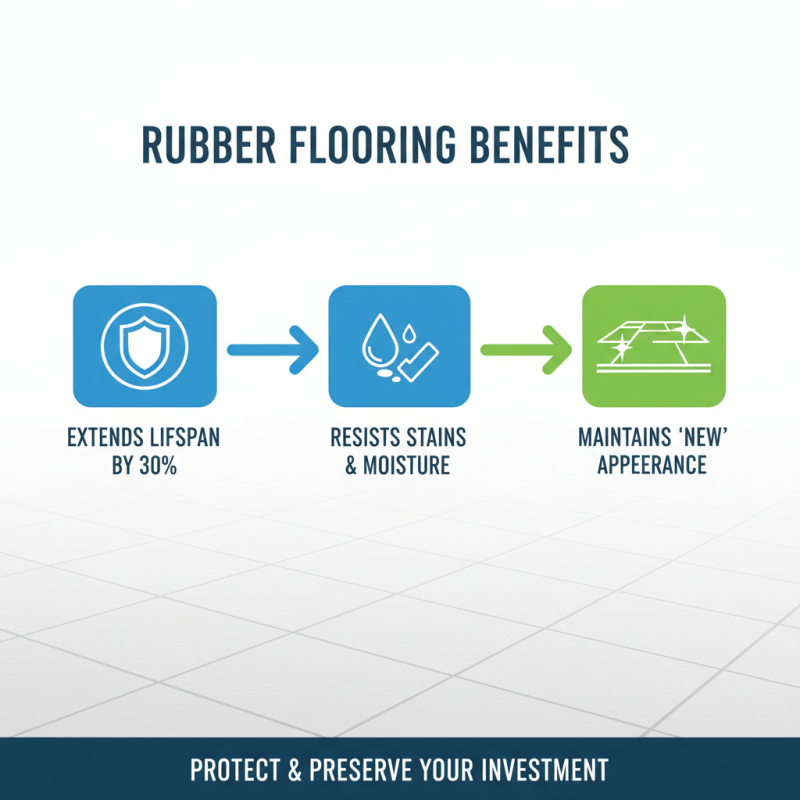
Sealing and finishing your rubber tile flooring is crucial for longevity and appearance. Studies show that properly sealed floors can extend their life by up to 30%. This is significant for homeowners seeking durability in their flooring choices. Sealing can also improve resistance to stains and moisture. It creates a protective layer, keeping your floors looking new for years.
When sealing, the surface should be clean and dry. A simple vacuum, followed by a damp mop, will remove dust and debris. After cleaning, allow the floor to dry completely. Then, apply a clear sealant designed for rubber tiles. Follow the manufacturer’s instructions closely, as improper application can lead to peeling or discoloration.
Finishing touches like buffing can enhance the shine. Buffing can also help create a non-slip surface, which is essential in homes with children. Remember, not all sealants are compatible with every type of rubber tile. Some may require frequent reapplication, while others last longer. You may find yourself second-guessing your choice after a few months, especially if maintenance becomes a hassle. Always stay informed and vigilant about the condition of your floors.
Maintenance Tips for Longevity of Rubber Tile Floors
Maintaining rubber tile floors is essential for their longevity. Regular cleaning is a key practice. Use a damp mop with mild soap to remove dirt. A vacuum can be used too, but avoid harsh brushes. This prevents scratching the surface and fading colors.
Moisture control is vital. Rubber tiles can absorb water, leading to mold growth. Ensure adequate ventilation in damp areas. If spills occur, wipe them up immediately. A soft cloth works well. Regularly inspect the tiles for signs of damage. Minor issues can grow if ignored. You might need to replace tiles to maintain a seamless look.
Consider using mats in heavy traffic areas. They can reduce wear and tear. However, be careful with mat materials that might trap moisture underneath. Over time, rubber tiles may lose their shine. A simple buffing can help recover some of that luster. Don't forget to assess the environment. Excessive heat or cold can impact durability as well. Adjust your strategies accordingly for better results.