How to Choose and Install Rubber Vinyl Flooring for Your Home?
When it comes to home flooring, choosing the right material is crucial. One option that has gained popularity is Rubber Vinyl Flooring. Experts recommend this type of flooring for its durability and comfort. John Smith, a flooring specialist with over 15 years of experience, stated, "Rubber Vinyl Flooring combines style and functionality in a unique way."
This flooring type offers a blend of resilience and aesthetics. It's known for its slip-resistant surface, making it an excellent choice for families with children or pets. The wide range of designs available allows homeowners to express their style while ensuring practicality. However, selecting the right Rubber Vinyl Flooring can be challenging without guidance.
Installation is another layer of complexity. Proper preparation and tools are essential for achieving the best results. Homeowners may feel overwhelmed by the options, such as colors and textures. Considering all these factors can lead to a well-informed decision. Yet, it's easy to overlook crucial details in this process. Careful planning and expert advice can help in making the right choices.
Understanding Rubber Vinyl Flooring: Types and Benefits
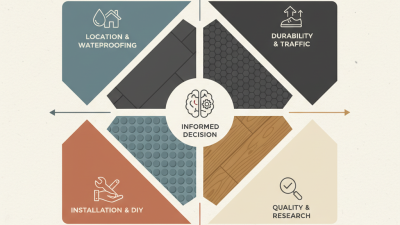
Rubber vinyl flooring is a popular choice for its durability and versatility. Understanding its types and benefits is crucial for making an informed decision. This flooring comes in various styles, including sheets, tiles, and planks. Each type offers unique advantages, such as easy installation or a seamless look.
One major benefit of rubber vinyl flooring is its water resistance. This feature makes it ideal for areas like kitchens and bathrooms. Additionally, it provides a softer surface than traditional flooring, which is great for homes with children or pets. The cushioning effect can help reduce fatigue for those standing for long periods.
Tips: Always check for slip resistance before purchasing. This is important for safety, especially in high-traffic areas. Also, consider the thickness of the flooring, as it can affect comfort and insulation. Don't forget to ask for samples to see how it complements your space. Installation may seem straightforward, but keeping your subfloor in good condition can be a challenge. Ensure the surface is clean and level.
Assessing Your Space: Measuring and Preparing for Installation
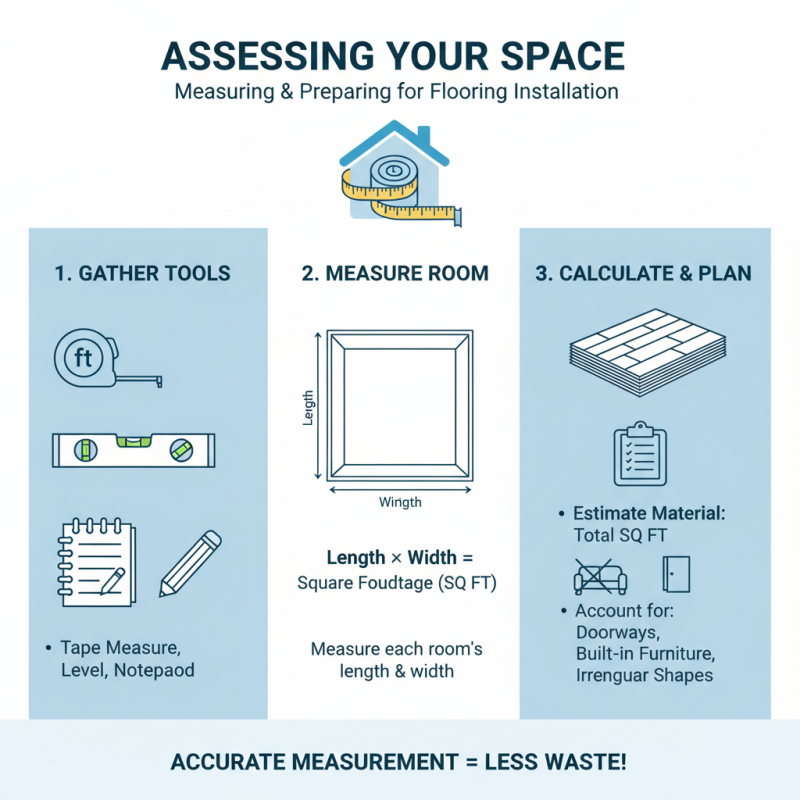
Measuring your space accurately is crucial when installing rubber vinyl flooring. Start by gathering essential tools: a tape measure, level, and a notepad. Measure the length and width of each room. Multiply these dimensions to find the total square footage. This calculation helps in estimating how much flooring material you'll need. Remember to account for any areas that won't be covered, like doorways or built-in furniture.
Preparing your space is equally important. Clear the room of furniture and debris before installation. Ensure the subfloor is clean, dry, and level. If there are imperfections, like cracks or uneven spots, repair them to guarantee a smooth finish. Consider the climate and humidity in your area. This can influence how the vinyl flooring expands or contracts. If moisture is a concern, you may need to take additional steps to protect your flooring choice. Each aspect contributes to a successful installation and lasting results.
Choosing the Right Adhesive and Tools for Rubber Vinyl Flooring
Choosing the right adhesive for rubber vinyl flooring is crucial. It impacts both the installation process and the flooring's longevity. A pressure-sensitive adhesive is often a safe choice. It allows for easy repositioning, which can be beneficial for beginners. However, ensure it is compatible with your specific flooring type.
Tools are equally important. A utility knife is essential for cutting vinyl tiles accurately. A trowel will help spread adhesive evenly. Don’t forget a straight edge to maintain clean lines. Even a simple roller can enhance adhesion, removing air pockets that can create bumps.
Consider the environment where you'll install the flooring. Humidity and temperature can affect adhesive performance. You may need to test the surfaces before applying the adhesive. Some users report issues with sticking over time. Always read adhesive instructions carefully. Reflecting on past projects can guide your choices here. Aim for a balance between ease and durability.
Rubber Vinyl Flooring Installation Difficulty Levels
Step-by-Step Guide to Installing Rubber Vinyl Flooring
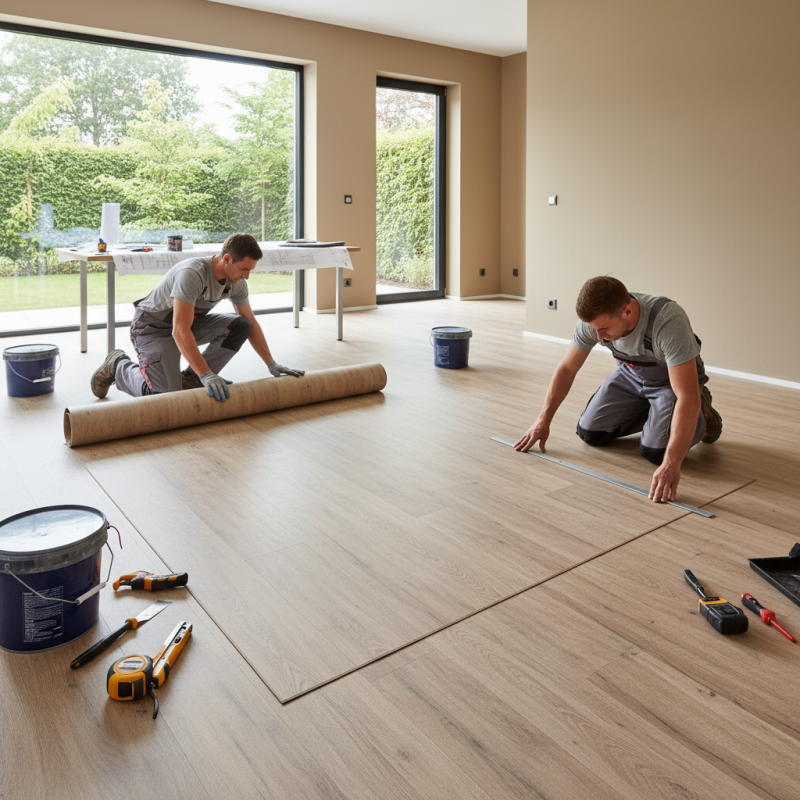
Installing rubber vinyl flooring can transform your home. Begin by gathering tools: a utility knife, measuring tape, and a roller. Measure your space carefully. Accuracy is crucial. Cut the flooring to fit your measurements. Remember, mistakes can happen. Always measure twice. It’s easy to get it wrong.
Next, prepare the subfloor. It should be clean and dry. Remove any debris or old flooring. A smooth surface is essential for proper adhesion. Lay out the pieces in place before sticking them down. This step helps visualize the design. Once satisfied, start applying adhesive. Work methodically. If not, you risk misalignment.
After the tiles are laid, use a roller to press them down firmly. This ensures they bond well. Check for air bubbles; they can be problematic. Press them out carefully. Sometimes imperfections arise. Reflect on the installation process, and be patient with adjustments. The result will be worth it.
How to Choose and Install Rubber Vinyl Flooring for Your Home?
| Step |
Description |
Materials Needed |
Estimated Time |
| 1 |
Select the right rubber vinyl flooring for your space. |
Flooring samples, measuring tape. |
1-2 hours |
| 2 |
Prepare the subfloor by cleaning and leveling. |
Broom, vacuum, leveling compound. |
2-3 hours |
| 3 |
Measure and cut the rubber vinyl flooring to fit. |
Utility knife, straightedge, measuring tape. |
1-2 hours |
| 4 |
Apply adhesive and lay down the flooring. |
Adhesive, trowel, roller. |
2-4 hours |
| 5 |
Trim edges for a clean finish. |
Utility knife, straightedge. |
1 hour |
| 6 |
Allow the flooring to set and cure as per instructions. |
N/A |
24-48 hours |
Maintaining and Caring for Your Rubber Vinyl Flooring
Rubber vinyl flooring is a durable choice for many homes. It requires proper maintenance to last longer and maintain its appearance. Regular cleaning is vital. Dust and dirt can scratch the surface. According to industry reports, maintaining cleanliness can prolong the life of your flooring by up to 40%.
One effective way to clean rubber vinyl is using a damp mop with a mild detergent. Avoid harsh chemicals, as they can damage the material. This is a common mistake homeowners make. Often, they choose the wrong products, leading to dull surfaces. Check for pH-neutral cleaners to protect the finish.
Keeping the floors dry is essential. Water can weaken the adhesive over time. Ensure spills are cleaned up immediately. Use area rugs in high-traffic zones. They can absorb impact and prevent wear. Additionally, inspect your flooring regularly for signs of damage, especially in corners and during seasonal changes. This proactive approach can save costly repairs later. Keep in mind that rubber vinyl flooring is relatively resilient but not invincible.